
Can You Install Privacy Screen Netting in Windy Locations?
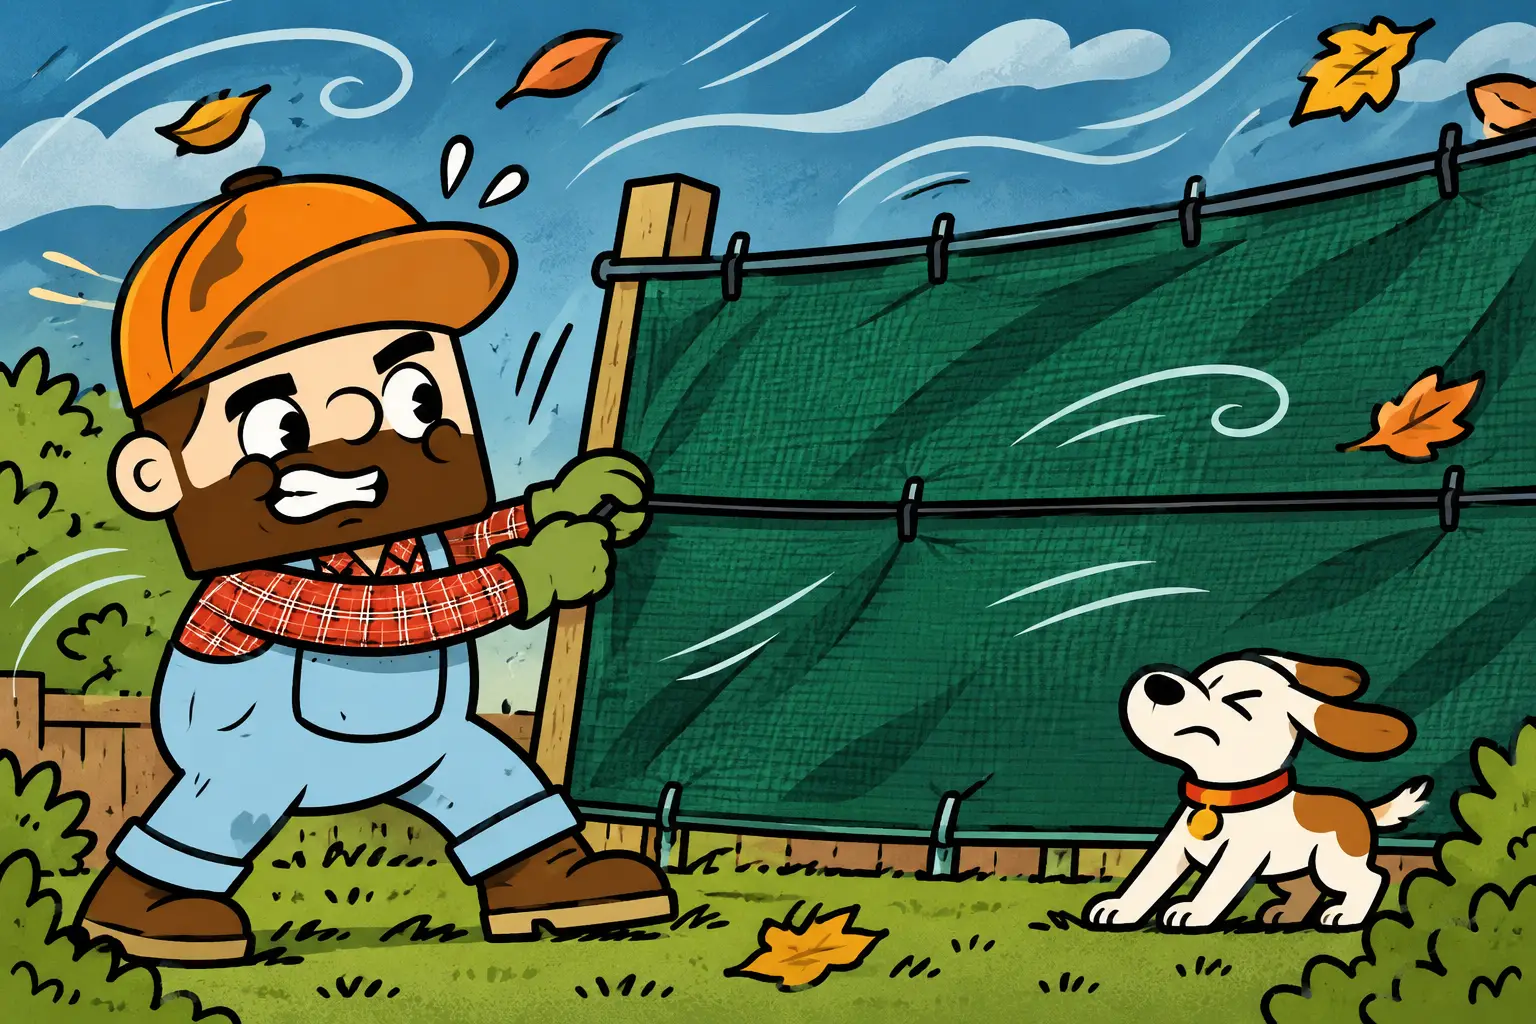
If you live in an exposed area or your garden regularly experiences strong winds, you may be wondering whether privacy screen netting is suitable for your fence or outdoor space.
Yes, privacy screen netting can be installed in windy locations, provided the supporting structure is strong enough and the screening is secured using an appropriate installation method.
While privacy screen netting allows some air to pass through its woven construction, it can still create additional wind resistance. This makes choosing the correct fixing method particularly important.
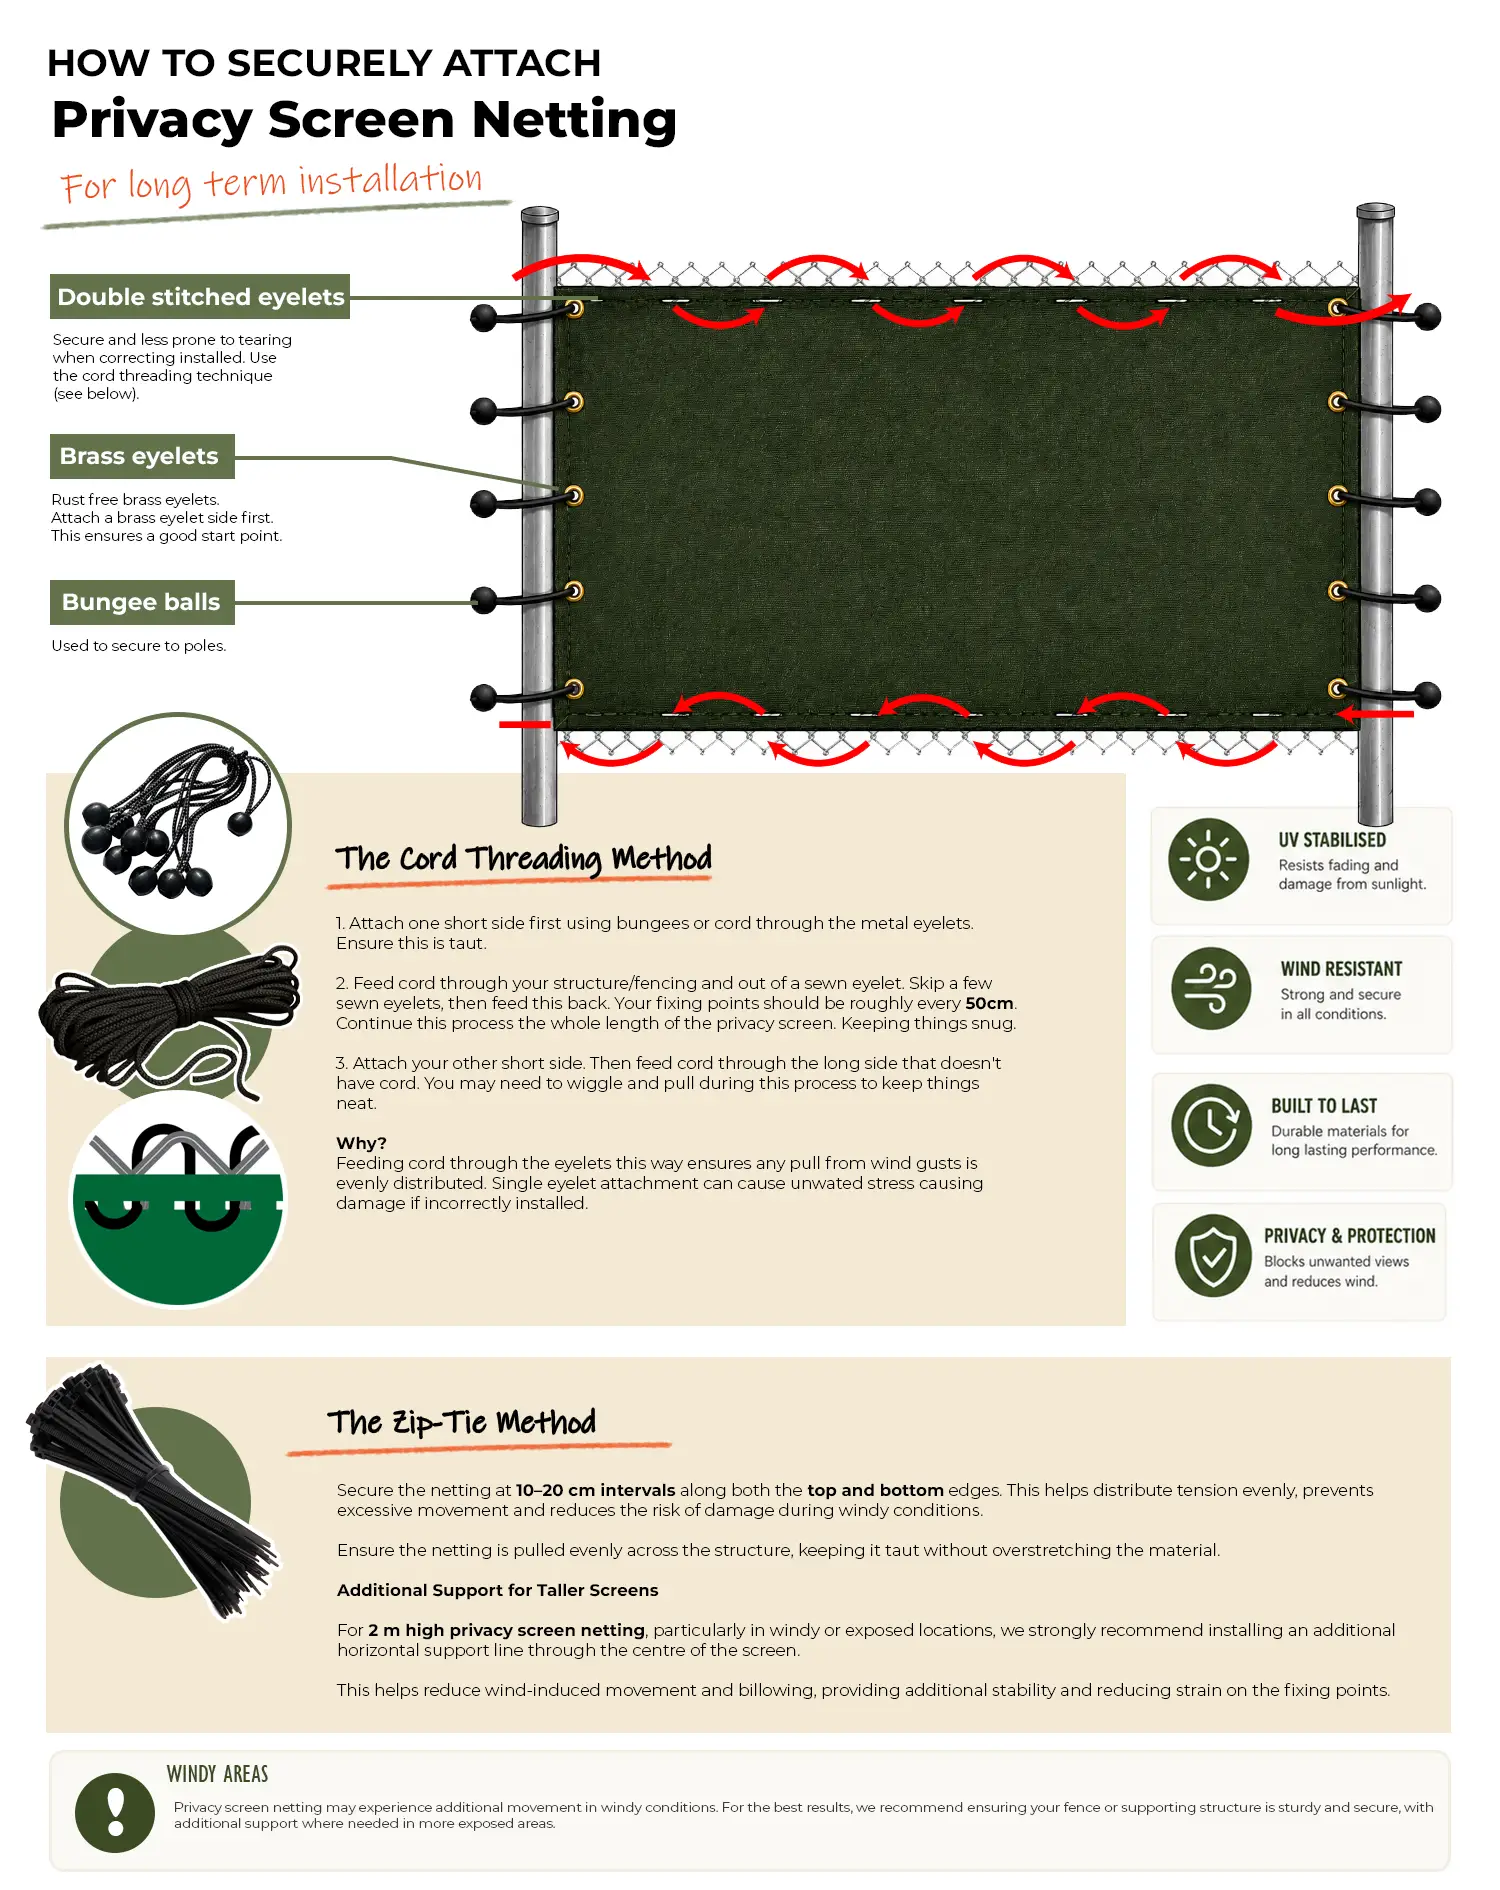
At Pro-Tec Garden Products, we recommend using the cord threading method for installations in windy or exposed locations, as it helps distribute tension more evenly along the edges of the screening.
How Does Wind Affect Privacy Screen Netting?
Privacy screen netting is designed to provide an effective visual barrier while allowing varying amounts of airflow through the material.
However, as the netting slows the wind passing through it, pressure can build up against the screening and its supporting structure.
This is commonly referred to as the sail effect, where wind causes the material to billow, pull or move against its fixing points.
Over time, excessive movement can place additional strain on the netting, its attachments and the supporting fence.
The amount of wind resistance will depend on several factors, including the density of the privacy screening, the size of the installation and how exposed the location is.
Why We Recommend Cord Threading for Windy Locations
When installing privacy screen netting in exposed areas, we generally recommend using a suitable cord threaded through the double-stitched woven eyelets along the top and bottom edges.
Unlike individual fixing points, a correctly installed cord threading system can help distribute tension across multiple sections of the screening.
This offers several potential benefits:
- More even tension: Helps distribute the pulling force along the edges of the screening.
- Reduced stress on individual fixing points: Helps minimise concentrated pressure on small areas of the material.
- Improved support: Provides a more continuous fixing system along the top and bottom.
- Easier adjustments: Cord tension can be checked and adjusted when necessary.
Although cord threading may take a little longer to install, we believe it’s a worthwhile consideration for customers installing privacy screening in areas regularly exposed to wind.
Why We Don’t Recommend Cable Ties as Our First Choice in Windy Areas
Cable ties are a quick and convenient way to attach privacy screen netting to a fence, and they can be perfectly suitable for many everyday installations.
However, for particularly windy or exposed locations, we recommend choosing cord threading instead.
Cable ties secure the netting at individual points. During strong winds, these points can experience repeated pulling forces as the screening moves.
If the ties are spaced too far apart, overtightened or unsuitable for outdoor use, this can increase the risk of damage around the fixing points.
Cable ties can also deteriorate over time, particularly when exposed to sunlight and changing weather conditions.
While good-quality, UV-resistant cable ties installed at the recommended 10–20 cm intervals can provide a secure fixing, cord threading is our preferred method where additional wind resistance is a concern.
How to Install Privacy Screen Netting Using Cord
Our privacy screen netting features double-stitched woven eyelets along the top and bottom edges, along with brass eyelets on the shorter sides.
For our recommended cord threading installation:
- Secure one of the shorter sides of the screening to your supporting structure using suitable cord or bungee balls through the brass eyelets.
- Thread suitable cord through the woven eyelets along the top edge, passing it through the supporting structure as required.
- Continue along the top edge, using fixing points approximately 50 cm apart, as shown in our installation guide.
- Repeat the process along the bottom edge.
- Secure the opposite shorter side and adjust the tension so the netting is evenly supported without being overstretched.
The aim is to create a neat, secure installation that distributes tension across the material.
For detailed instructions, please refer to our Privacy Screen Netting Installation Guide.
Add a Central Support Line for Taller Screening
For privacy screen netting installations around 2 metres high, particularly in exposed or windy locations, we also recommend fitting an additional horizontal support line through the centre of the screening.
This provides extra support across the middle of the material, helping to reduce excessive movement and minimise the sail effect.
Without a central support, taller sections of screening may billow more noticeably as wind pressure builds against the material.
A correctly fitted central support line can help reduce unnecessary strain on the screening and its fixings.
Check Your Fence or Supporting Structure
Regardless of which fixing method you choose, it’s essential that your fence or supporting structure is suitable for the additional wind resistance created by privacy screen netting.
Before installation, check that fence posts are securely fixed, panels are stable and the framework is in good condition.
Where appropriate, we recommend fitting the screening to the main windward side of the structure, ensuring that the framework can withstand the additional pressure.
In particularly exposed locations, additional reinforcement may be necessary.
Remember, even securely installed privacy screening can place significant pressure on a fence during strong winds.
Does Privacy Screen Density Make a Difference?
Yes. The density of your privacy screen netting can affect how much wind passes through the material.
Higher-density screening generally offers greater visual privacy but can also create more wind resistance.
Our 220gsm and 320gsm privacy screen netting options provide different levels of visual screening, so it’s worth considering both your privacy requirements and the exposure of your installation area.
Regardless of the grade selected, we recommend ensuring that the supporting structure is suitable and using an appropriate fixing method.
Consider Installing Privacy Screening in Smaller Sections
For longer fence runs, it may be beneficial to install privacy screen netting in several smaller sections rather than one continuous length.
This can make installation and ongoing maintenance more manageable.
If a section becomes damaged through severe weather or accidental impact, it can also be replaced individually without needing to remove the entire installation.